How to Dry Mullein Leaves (Simple Step‑by‑Step Guide)
This post contains affiliate links. As an Amazon Associate, I earn from qualifying purchases. Read my full disclosure here.
Drying mullein is one of those slow, grounding seasonal tasks that makes you feel like you’re doing something kind for your future self. It’s simple, it’s old‑fashioned, and it’s one of the easiest ways to build a winter wellness shelf that actually supports your family when the chesty coughs start rolling through.
Whether you’ve grown mullein in your garden or spotted a beautiful first‑year rosette while out walking, drying the leaves properly means you’ll have this gentle, reliable herb ready all winter long.
If you prefer to watch instead of read, the quick video version is below.
pin it for later 📌

When to Harvest Mullien
The best time to harvest mullein depends on which part of the plant you’re collecting, because each stage offers something different:
- Leaves: Pick in late spring through early summer, when the plant is in its first year, and the leaves are soft, vibrant, and full of nutrients.
- Flowers: Gather them in mid to late summer, choosing blooms that are fully open but still fresh — not wilted or browning.
- Roots: Harvest either in the autumn of the first year or early spring of the second year, before the tall flower stalk begins to form.
Harvesting at the right stage means you’ll get the most potency and therapeutic value from each part of the plant.
This is exactly how I dry mullein in my home — no fuss, no special equipment, just simple seasonal living.
What You’ll Need
- Fresh mullein leaves
- Scissors or garden snips
- A clean tray, hanging drying rack, or dehydrator
- A warm, dry space with airflow
- Jars or tin for storage
- A label and pen (future you will thank you)
How to Harvest the Leaves
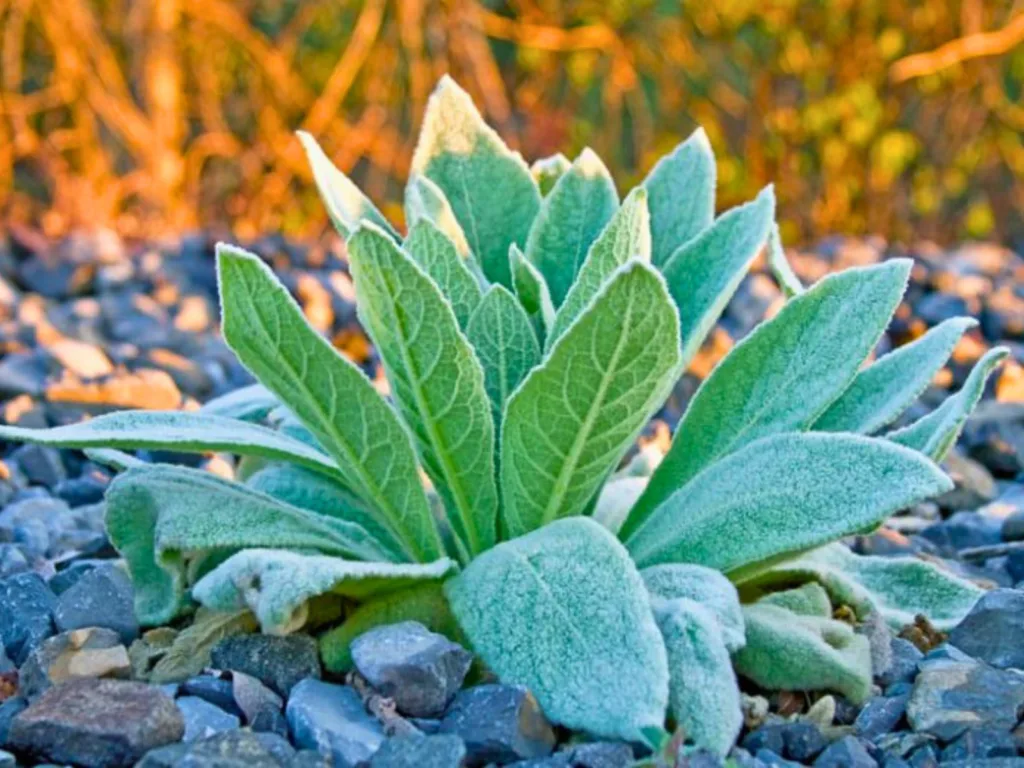
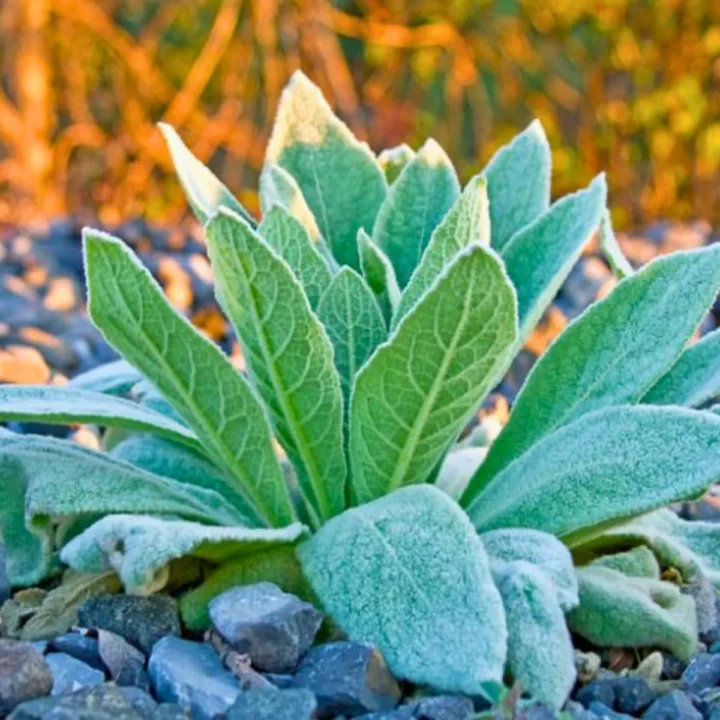
Mullein is a biennial plant, which means it grows a soft, velvety rosette of leaves in its first year and sends up a tall flowering stalk in its second year.
For drying, you want first‑year leaves — the big, soft, fuzzy ones that sit close to the ground.
Look for:
- healthy, undamaged leaves
- no yellowing or browning
- no insect damage
- plants growing away from roadsides or sprayed areas (this is VERY important)
Gently snip the leaves at the base. They should feel soft and velvety — that’s exactly what you want.
How to Dry Mullein Leaves (Step‑by‑Step)
1. Clean the leaves gently
Mullein leaves are like little sponges — they hold onto moisture — so washing them can make drying take much longer. However, I do recommend a gentle cold wash, especially if your mullein leaves are not from your garden, and allow extra time for drying.
If the leaves are clean, simply:
- shake off dust or insects
- brush lightly with your hand
If they must be washed:
- rinse quickly
- pat dry thoroughly
- lay them somewhere warm for an hour before drying
The goal is to remove surface moisture so they dry evenly.
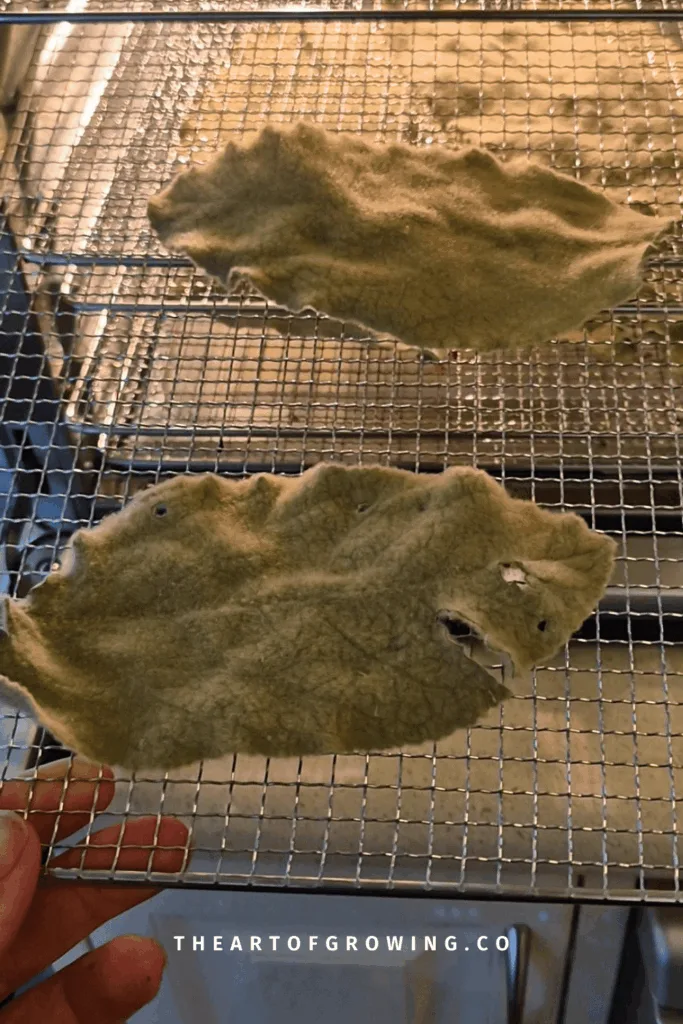
2. Lay them out in a single layer
Spread the leaves in a single layer on a:
- drying rack
- mesh screen
- baking tray
- clean cloth (I like to use a cheesecloth)
Make sure they’re not overlapping — airflow is everything.
3. Choose your drying method
Air Drying (my favourite and best for quality)
In the warm summer and autumn months, I really enjoy air-drying my mullein leaves. Depending on your space and environment, drying naturally outside shouldn’t take too long.
- Place in a warm, dry room
- Avoid direct sunlight
- Flip every few days
- Takes 5–10 days, depending on humidity
Dehydrator
When I’m unable to dry naturally outside, I will use my dehydrator and essentially set it and forget it… Well almost!
- Set to a minimum of 35°C and no higher than 40°C
- Dry for 12 hours and then check every 2-3 hours after
- You’re aiming for that crispy snap sound
Oven (if you’re desperate)
Only use the oven if the two options above aren’t available to you. This one is a close-proximity method. Meaning that it’s best if you’re at home and in the kitchen to check on the drying progress.
- Lowest oven setting
- Door slightly open (use a chopstick to wedge it open)
- Check every 1-2 hours
- The leaves can dry too fast, so keep an eye on them
4. Do the “snap test”
Your Mullein is fully dry when:
- The leaf snaps cleanly
- It crumbles easily
- The midrib breaks instead of bending
Remember: if it bends or feels leathery, it needs more time.
How to Store Dried Mullein
Once your mullein leaves are fully dry, you can crumble them lightly in your hands or use scissors to snip them into strips. Store in a glass jar or tin and keep them away from heat, moisture and sunlight. I prefer in the back of my cupboard.
It’s very important to label your jars/tins with the name, month & year and add “Dried Leaves”.
Properly dried mullein leaves will last up to 12 months when stored properly.
What to Do With Mullein After You Dry It
Once your mullein is fully dry, you can use different parts of the plant in different ways:
- Leaves — used for teas, steams, and tinctures to support the respiratory system.
See: How to Make a Mullein Tincture & Mullein Syrup (Kid‑Friendly, Alcohol‑Free). - Flowers — often infused in oil for gentle ear support or added to calming teas.
- Roots — traditionally used in tinctures or decoctions for grounding and structural support.
See: How I Use Mullein in Winter.
Drying the plant now means you’ll have everything you need for winter wellness later.
Common Mistakes to Avoid
Below are some beginner mistakes I made when first starting that will hopefully help you avoid these when handling your own mullein. These small tweaks make a big difference.
- Drying in direct sun → This majorly reduces potency and is not recommended.
- Not drying long enough → Will create a mould risk.
- Storing before fully cool → Creates condensation and leads to mould.
- Powdering the leaves → I would not recommend it as it’s harder to strain later.
- Harvesting second‑year leaves → While this is considered “ok”, the leaves will be tougher, less useful, and reduce the potency.
Frequently Asked Questions (FAQ)
Can you dry mullein in the sun?
It’s better not to — sunlight can degrade the beneficial compounds.
Can you dry mullein in a dehydrator?
Yes, just keep the temperature low (35–40°C).
How long does dried mullein last?
Up to a year (12 months) if stored properly.
Can you dry mullein flowers, too?
Yes — they dry much faster than the leaves, so be sure to check as often as possible.
Related Posts
- How to Make a Mullein Tincture (Simple Winter Prep)
- How I Use Mullein in Winter
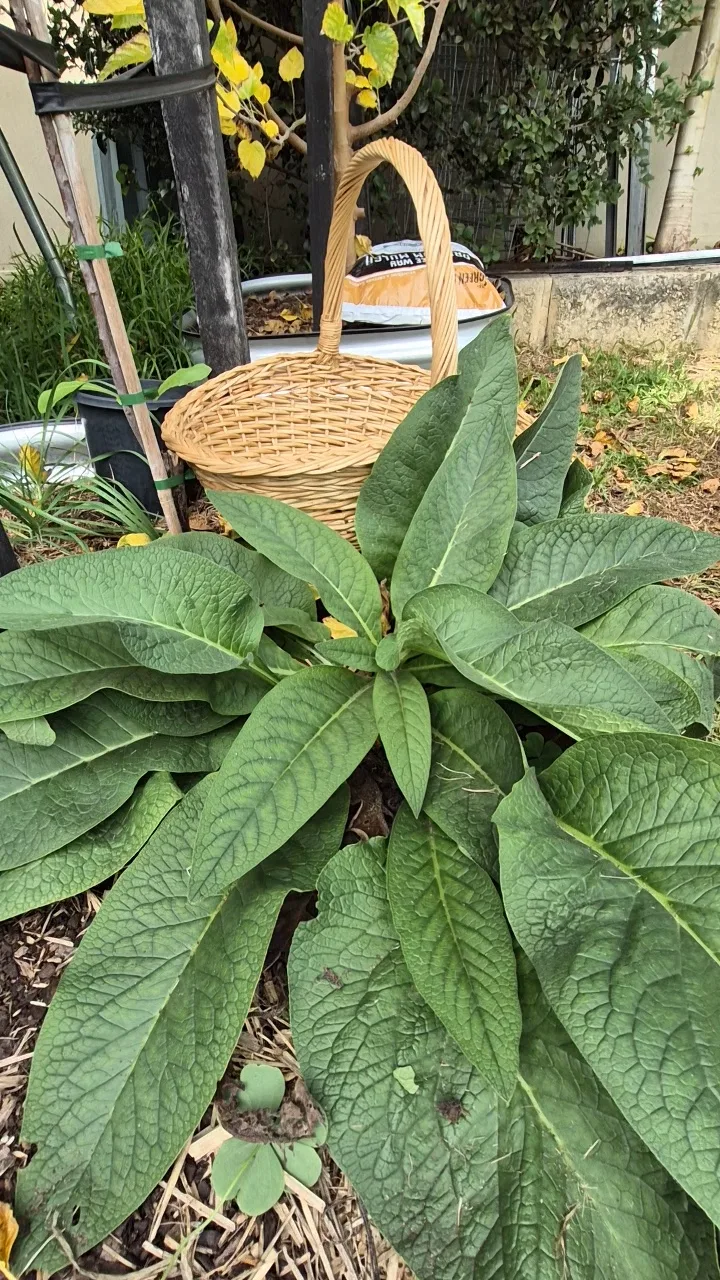
- Comfrey: The Most Useful Herb You Can Grow in a Home Garden
Find me on socials 👇🏼
Join the community 🏡
If you love simple, seasonal living, join my weekly email for gardening tips, old skills, and from‑scratch home inspiration.
How to Dry Mullein Leaves
Learn how to harvest and dry mullein leaves step‑by‑step. A simple guide for beginners to prepare mullein for teas, steams, tinctures, and winter wellness.
Materials
- Fresh mullein leaves
- Clean tray, drying rack, mesh screen, baking tray, or a clean cloth
- Dehydrator
- Jar or tin for storage
- Label and pen (future you will thank you)
Tools
- Scissors or garden snips
Instructions
- Clean the leaves gently: If the leaves are clean, simply shake off dust or insects and brush lightly with your hand. If they must be washed, rinse quickly, pat dry thoroughly, and lay them somewhere warm for an hour before drying.
- Lay them out in a single layer: Spread the leaves in a single layer on a drying rack, mesh screen, or baking tray, or a clean cloth (I like to use a cheesecloth). Make sure they’re not overlapping — airflow is everything.
- Choose your drying method:
Air Drying (my favourite and best for quality)
- Place in a warm, dry room
- Avoid direct sunlight
- Flip every few days
- Takes 5–10 days, depending on humidity
Dehydrator
- Set to a minimum of 35°C and no higher than 40°C
- Dry for 12 hours and then check every 2-3 hours after
- You’re aiming for that crispy snap sound
Oven (if you’re desperate)
- Lowest oven setting
- Door slightly open (use a chopstick to wedge it open)
- Check every 1-2 hours
- The leaves can dry too fast, so keep an eye on them
4. Do the “snap" test:
Your Mullein is fully dry when:
- The leaf snaps cleanly
- It crumbles easily
- The midrib breaks instead of bending
Notes
How to Store Dried Mullein
Once your mullein leaves are fully dry, you can crumble them lightly in your hands or use scissors to snip them into strips. Store in a glass jar or tin and keep them away from heat, moisture and sunlight. I prefer in the back of my cupboard.
It’s very important to label your jars/tins with the name, month & year and add “Dried Leaves”.
Properly dried mullein leaves will last up to 12 months when stored properly.
What to Do With Mullein After You Dry It
Once your mullein is fully dry, you can use different parts of the plant in different ways:
Leaves — used for teas, steams, and tinctures to support the respiratory system.See: How to Make a Mullein Tincture & Mullein Syrup (Kid‑Friendly, Alcohol‑Free).
Flowers — often infused in oil for gentle ear support or added to calming teas.
Roots — traditionally used in tinctures or decoctions for grounding and structural support.See: How I Use Mullein in Winter.
Drying the plant now means you’ll have everything you need for winter wellness later.
Common Mistakes to Avoid
Below are some beginner mistakes I made when first starting that will hopefully help you avoid these when handling your own mullein. These small tweaks make a big difference.
Drying in direct sun → This majorly reduces potency and is not recommended.
Not drying long enough → Will create a mould risk.
Storing before fully cool → Creates condensation and leads to mould.
Powdering the leaves → I would not recommend it as it’s harder to strain later.
Harvesting second‑year leaves → While this is considered “ok”, the leaves will be tougher, less useful, and reduce the potency.