Garlic Mistakes Beginners Make (and How to Avoid Them)
This post contains affiliate links. As an Amazon Associate, I earn from qualifying purchases. Read my full disclosure here.
If you’ve ever planted garlic in Perth and ended up with tiny bulbs, no bulbs, or garlic that just… disappeared, you’re not alone. Garlic is one of the easiest crops once you understand what it needs — but there are a few common mistakes that almost every beginner makes (I’ve made them too).
In this post, I’m breaking down the most common garlic-growing mistakes I see here in WA, why they happen, and the simple fixes that make all the difference.
If you prefer to watch instead of read, the quick video version is below.
pin it for later 📌
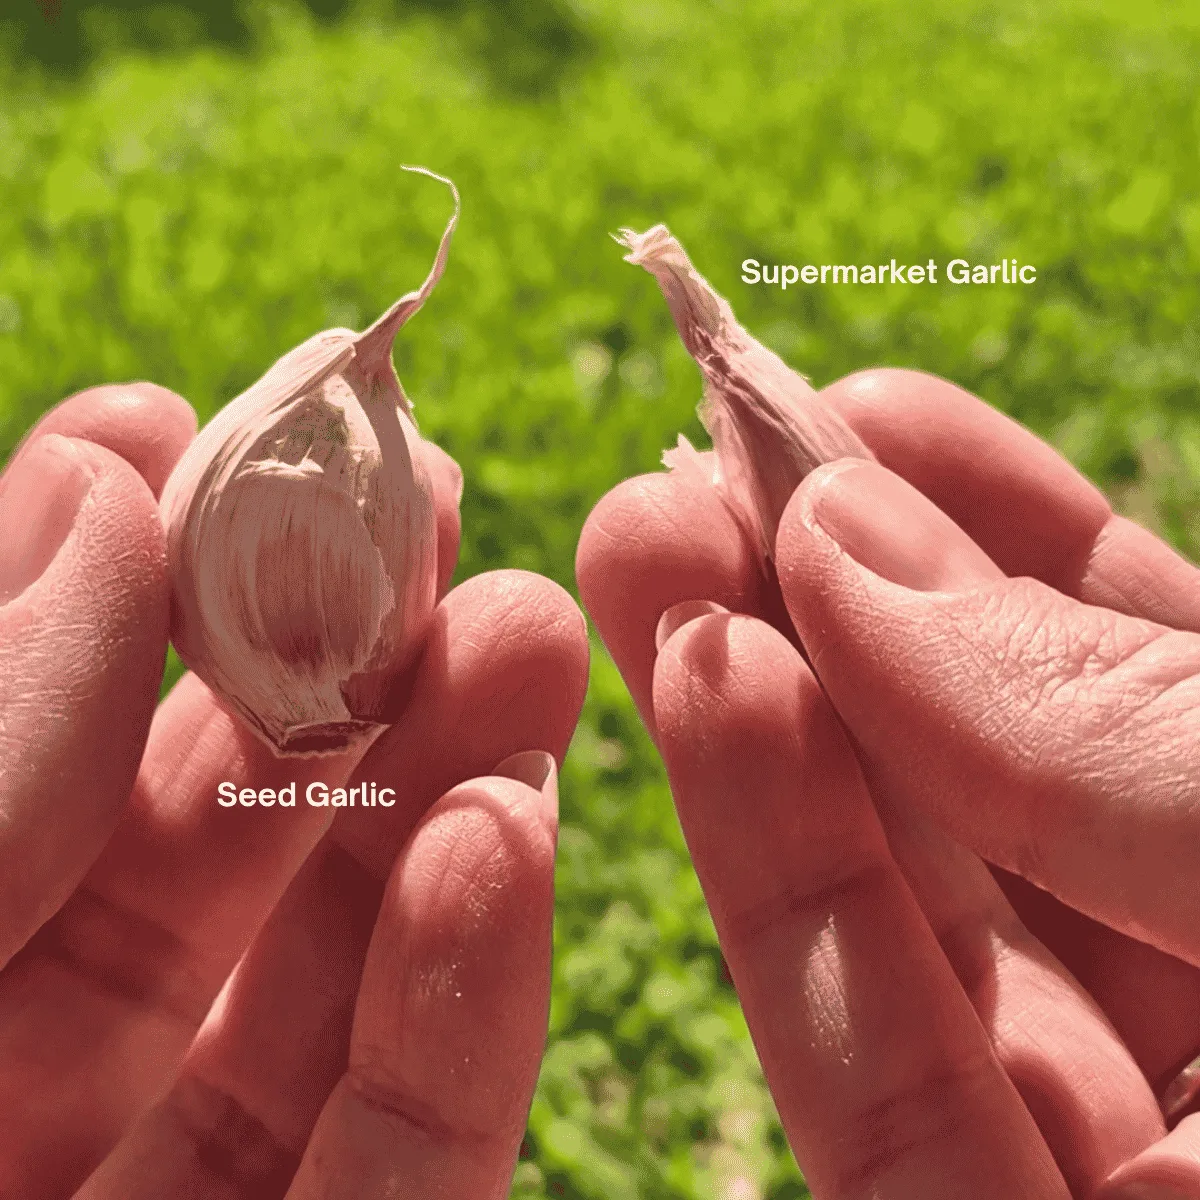
1. Using Supermarket Garlic
Supermarket garlic is often sprayed to stop it from sprouting, which is the exact opposite of what you want when you’re trying to grow it.
Why it’s a problem:
- It may not sprout at all
- It’s usually imported and not suited to Perth’s climate
- You don’t know the variety, so you can’t predict bulb size or harvest time
What to do instead:
Choose organic, Australian-grown garlic from a nursery, grower, or local market. WA-grown is even better.
I am not affiliated with the growers below; however, I have found their garlic seeds to be top quality and purchase from them each year:
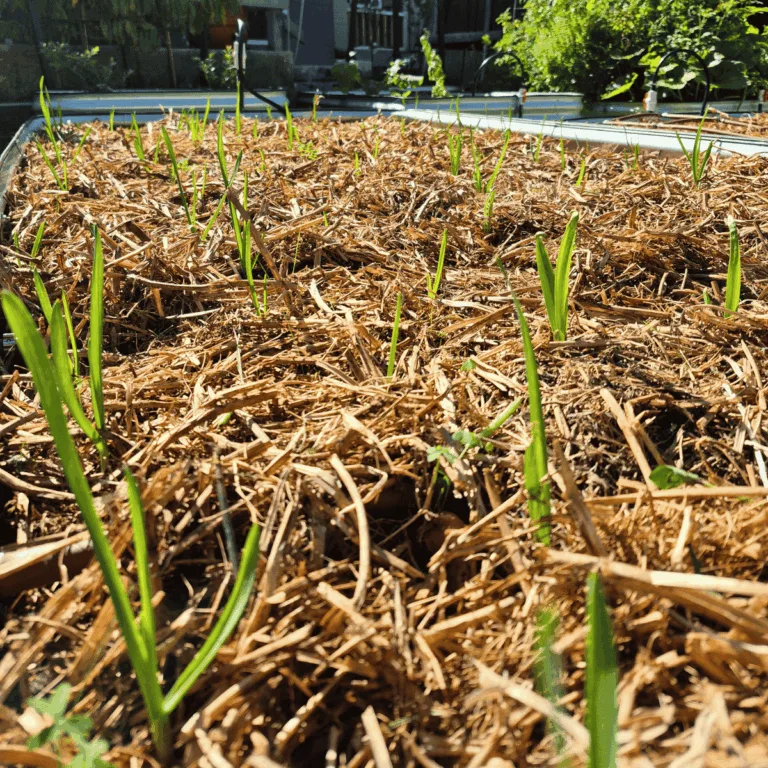
2. Planting Cloves Too Shallow
This is one of the biggest reasons garlic fails in Perth’s sandy soil.
Why it’s a problem:
- Shallow cloves dry out quickly
- They get pushed up by watering
- They form tiny, weak bulbs
The fix:
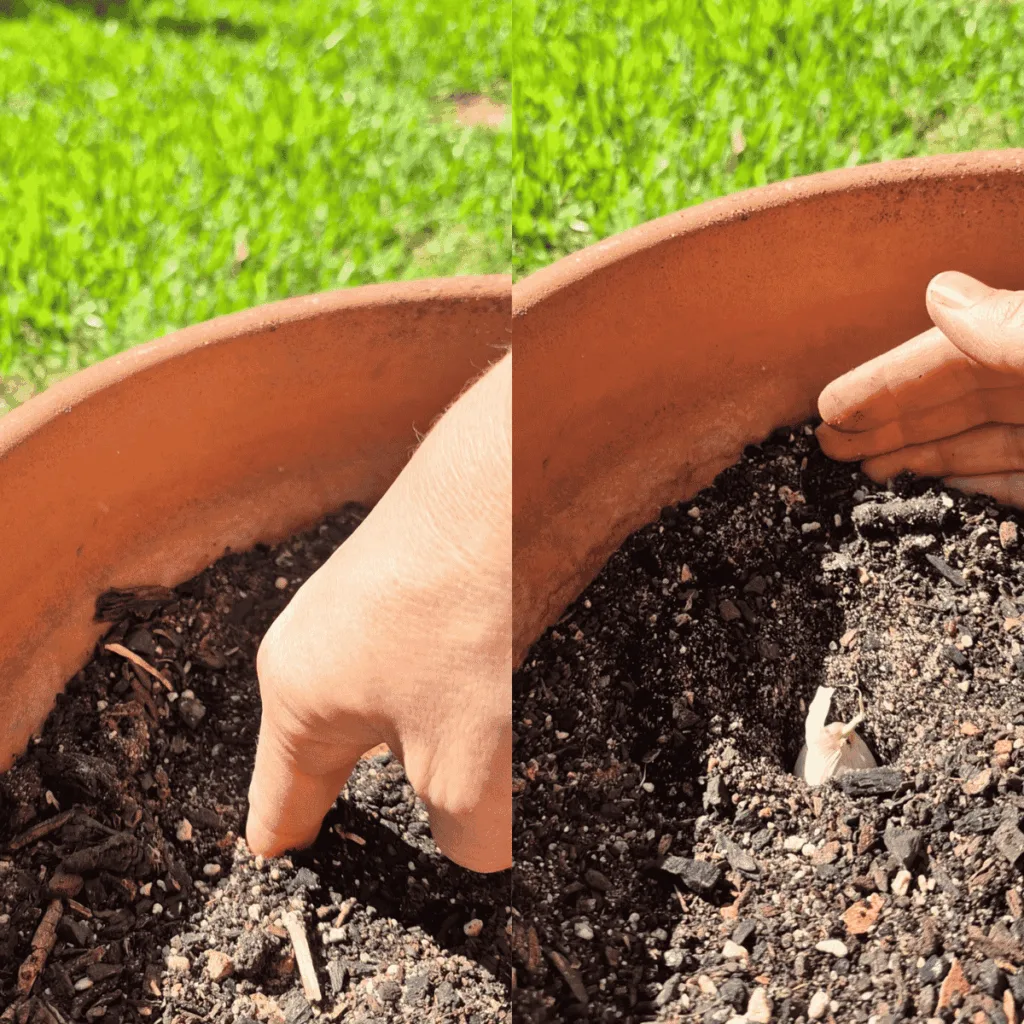
Plant cloves 3–5 cm deep, with the pointy end up. If your soil is very sandy, go a little deeper.
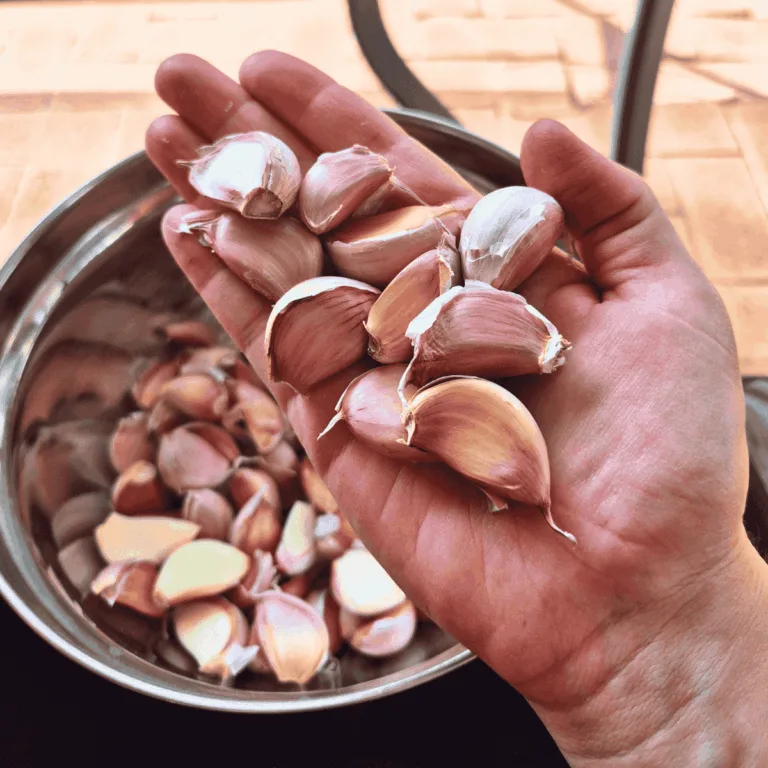
3. Planting Cloves Upside Down
It sounds silly, but it happens all the time — especially when the papery skin hides the shape. I can’t tell you how many times I have done this!
Why it’s a problem:
- The shoot has to fight its way downward, then back up
- The bulbs do not form properly
- Growth is slow and uneven
The fix:
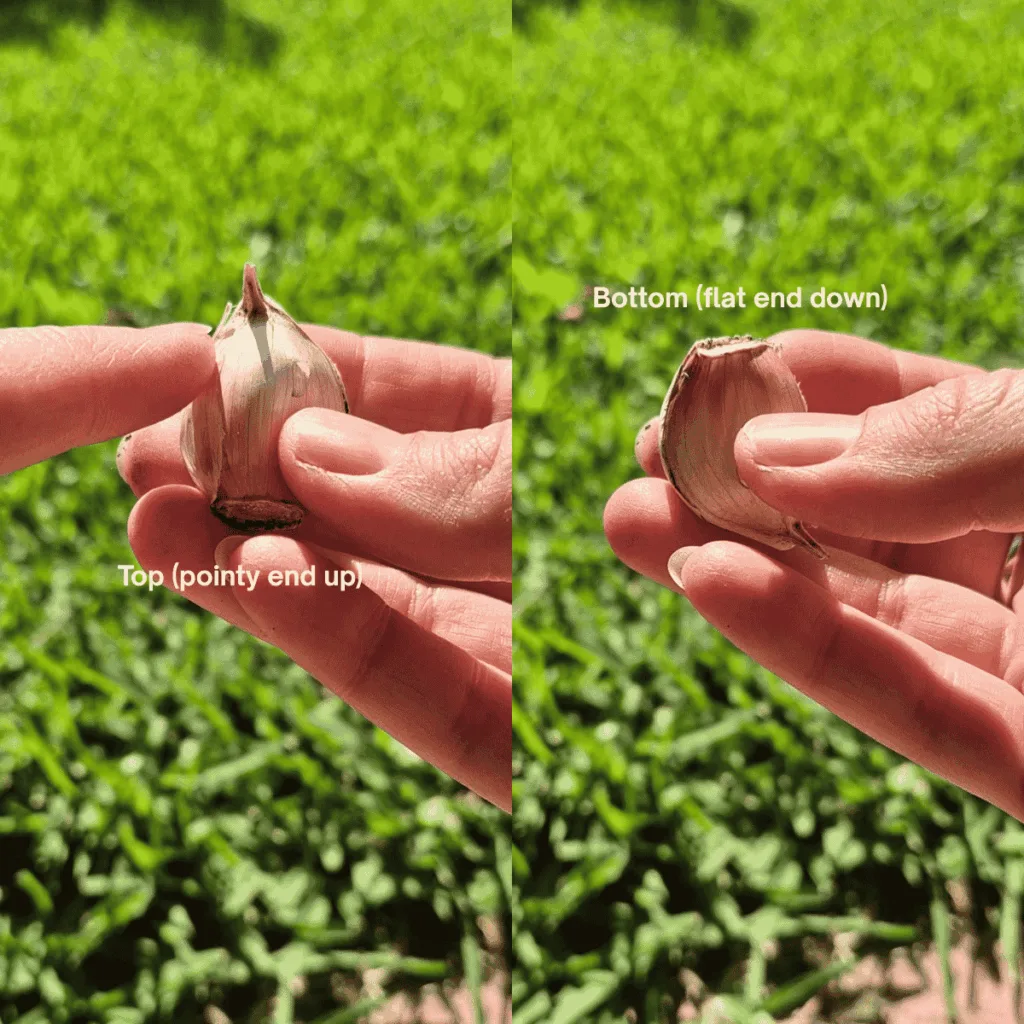
Always plant with the pointy end up and the flat, root end down.
4. Not Giving Garlic Enough Sunlight
Garlic needs full sun — at least 6 hours a day. I remember my first growing season, I planted my garlic into a bed I knew got full sun… in summer. I completely forgot about the changes in the direction of the sun during winter, and my harvest was quite poor.
Why it’s a problem:
- Shaded garlic stays small
- Bulbs don’t divide properly
- Plants become weak and floppy
The fix:
Observe which areas in your garden get the most sun during each season, focusing more on where the sunlight lands in winter. Garlic loves Perth’s bright winter days.
5. Overwatering (Especially Early On)
This is a big one for Perth gardeners who are used to watering sandy soil often.

Why it’s a problem:
- Garlic hates sitting in soggy soil
- Overwatering causes rot
- Bulbs stay small or start to split
The fix:
Keep soil moist, not soaked. Water deeply, then let the top layer dry slightly before watering again. A good way to check is to stick your finger into the soil 2-3 knuckles deep and check the moisture levels.
6. Bonus Mistake: Not Feeding the Soil
Garlic is a heavy feeder, and Perth’s sandy soil doesn’t naturally hold nutrients. Imagine being hungry all the time?
The fix:
Before planting, add a generous amount of:
- Blood & Bone: for slow‑release nitrogen and overall plant strength
- Potash: for healthy bulb development and stronger, bigger cloves
This gives garlic the nutrients it needs to form big, healthy bulbs.
I would also recommend feeding your garlic every 2 weeks with a liquid seaweed mixture until you’re ready to harvest. That way, you ensure even feeding throughout the growing period and give your garlic enough nutrients at the final stage before harvest.

What I Learned From My Own Mistakes
Every season teaches me something new. This year, I’m spacing my garlic slightly wider and planting a week earlier because our autumns are warming up. I usually like to get them in the ground in the last 2 weeks of March or around the Easter Weekend in April. These small tweaks make a big difference.
Related Posts
- How to Plant Garlic in Perth’s Autumn (Beginner‑Friendly Guide)
- How Deep to Plant Garlic (and Why it Matters)
- The Ultimate Beginner’s Guide to Square Foot Gardening
🌼Want the Garlic Planting Checklist?
If you want a simple, one-page printable you can keep in your garden shed, you can grab it below.
Join my weekly email, and I’ll send it straight to you.