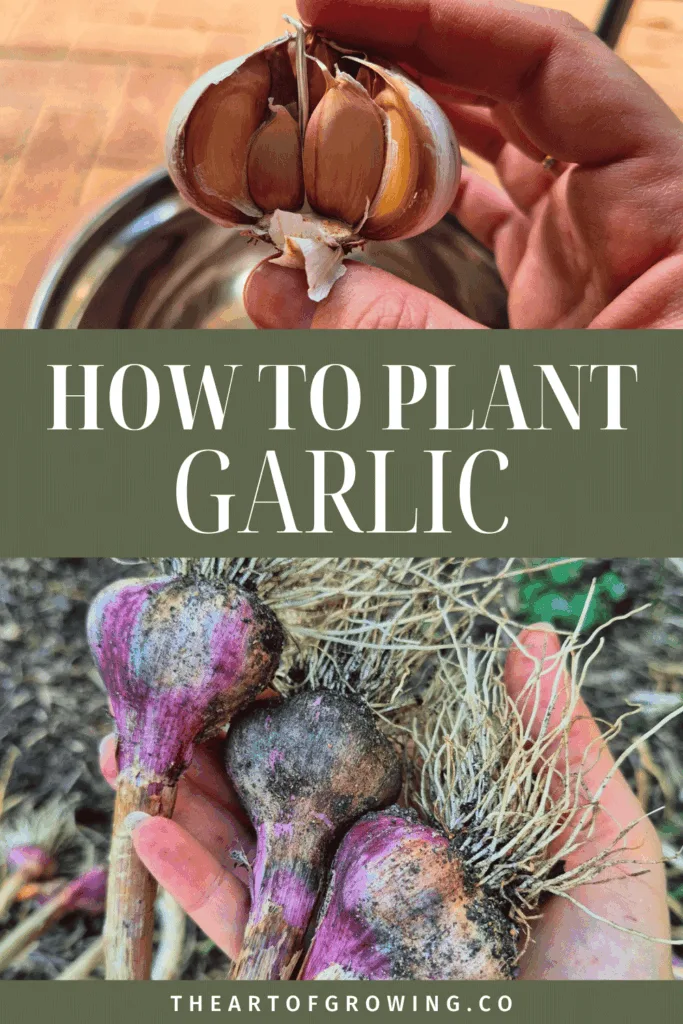
How to Plant Garlic in Perth’s Autumn (Beginner‑Friendly Guide)

This post contains affiliate links. As an Amazon Associate, I earn from qualifying purchases. Read my full disclosure here.
If you’re in Perth and thinking about planting garlic this autumn, you’re right on time. Garlic is one of the easiest, most satisfying crops for busy mums because once it’s in the ground, it mostly looks after itself. In this post, I’ll walk you through exactly how I plant garlic in our Perth climate — the real‑life, mum‑friendly version, not the aesthetic Pinterest version.
I’ve also included the quick video version if you prefer to watch instead of read 👇🏼
pin it for later 📌
When to Plant Garlic in Perth
Planting Garlic late March to mid‑April is ideal because nights are cooling and the soil is still warm enough for root development. Make sure the area you have chosen to plant your garlic receives 6 hours of sun a day at a minimum.
🌿 Step 1: Start with cold-stored garlic
Garlic loves a bit of cold before planting — it helps trigger stronger root growth. I keep mine in the fridge for a few weeks before planting. If you’ve forgotten, don’t stress. Even a few days help, or you can store it in the freezer for 3 hours, then transfer it to the fridge for another 36 hours.
Why it matters:
Cold = better roots = bigger bulbs.
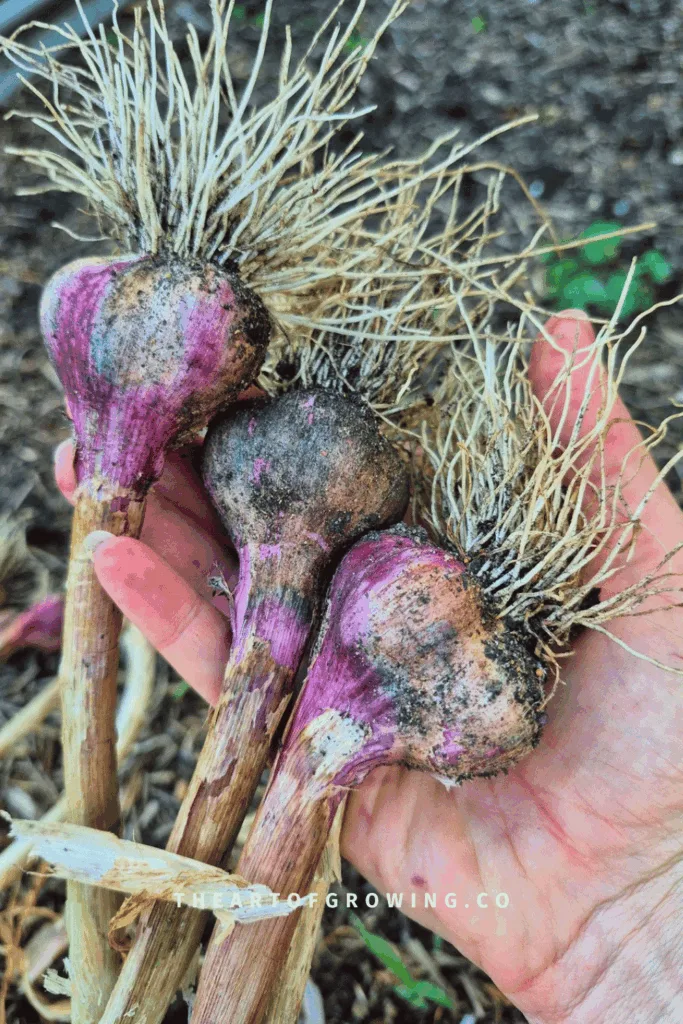
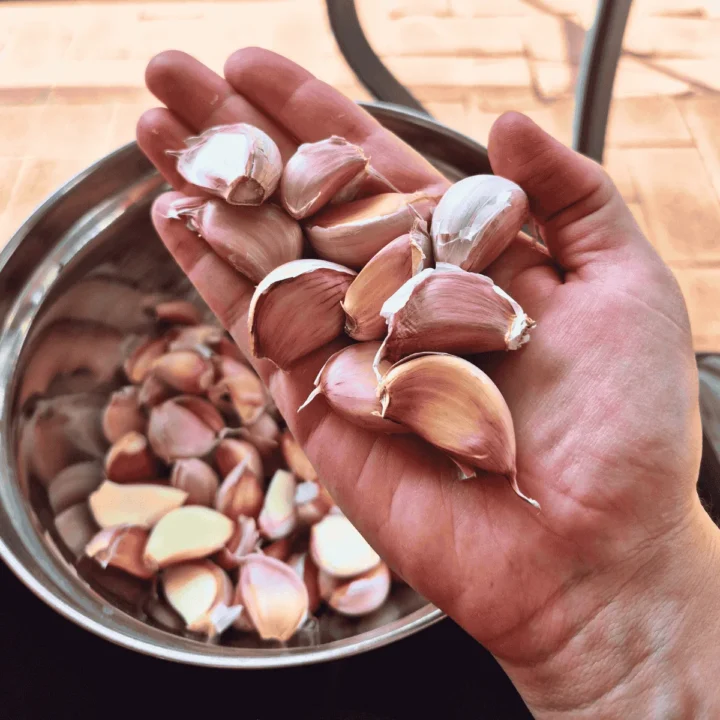
🌱 Step 2: Break the bulb into individual cloves
Choose the biggest, healthiest cloves. Small cloves grow small bulbs, and we’re not here for that.
Tip: Don’t peel the papery skin — it protects the clove.
🌊 Step 3: Soak cloves in seaweed solution (24 hours)
This is my favourite “mum hack” for garlic. Actually, shout out to my sister for this little tip! A quick soak in diluted seaweed solution helps reduce transplant shock and gives the cloves a nutrient boost.
I like to use any of these products:
- Charlie Carp Certified Organic Fertiliser
- Eco-Organic Eco Seaweed Soluble Fertiliser
- Seasol Seaweed Solution
Why it works:
Seaweed = root stimulant + stress reducer.
🌾 Step 4: Prep your soil with Blood & Bone + Potash
Garlic is a hungry crop, and Perth’s sandy soils need a little boost before planting. I keep it simple with two things:
- Blood & Bone — for slow‑release nitrogen and overall plant strength
- Potash — for healthy bulb development and stronger, bigger cloves
Sprinkle both over the top of your soil and lightly mix them into the first few centimetres. You don’t need to dig deep — garlic roots sit close to the surface.
Beginner mistake: Skipping soil prep and planting straight into plain sand. Garlic will grow, but the bulbs stay tiny and weak.
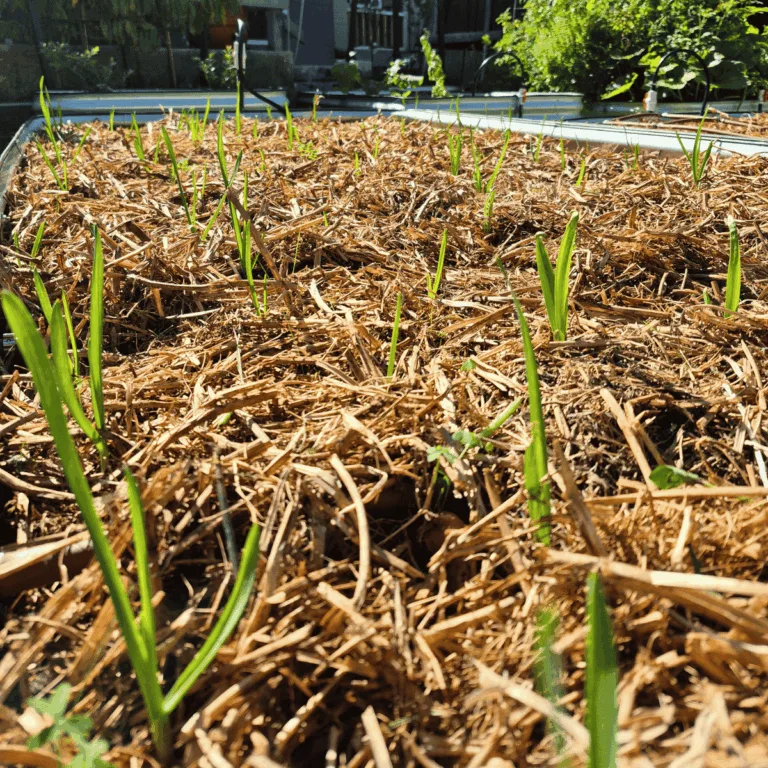
📏 Step 5: Plant using the 4‑per‑grid method
This is my simplified grid garden method — perfect for small gardens.
- 4 holes per square
- One clove per hole
- Pointy end up
- Cover with soil & mulch
- Water well
Depth: About 3–5 cm deep
Spacing: Roughly a hand’s width apart.
🌞 Step 6: Water + wait
Garlic doesn’t need much fussing. Keep the soil moist (not soaked) and let it do its thing.
💬 What I’d do differently next time
Every season teaches me something. This year, I’m spacing mine slightly wider because last year, they didn’t have enough room to grow to their full potential. Perth’s autumn weather is also warming up, so I’m planting a week earlier than usual. I like to plant my garlic on or around the ANZAC long weekend.
If you love simple, real-life gardening guides for Perth families, join my weekly email. I send one helpful thing every week — no overwhelm.
🌼 Want the printable Garlic Planting Checklist?
I’ve made a simple one-page Garlic Planting Checklist you can print and keep in your garden shed.
Related Posts
- How Deep to Plant Garlic (and Why it Matters)
- Garlic Mistakes Beginners Make
- “The Ultimate Beginners Guide to Square Foot Gardening”
How to Plant Garlic in Perth’s Autumn (Beginner‑Friendly Guide)
Garlic is one of the easiest, most satisfying crops for busy mums because once it’s in the ground, it mostly looks after itself. In this post, I’ll walk you through exactly how I plant garlic in our Perth climate — the real‑life, mum‑friendly version, not the aesthetic Pinterest version.
Materials
- Blood & Bone
- Potash
- Seaweed solution
- Dibbler
- Watering can
Instructions
- Start with cold-stored garlic: Garlic loves a bit of cold before planting — it helps trigger stronger root growth. I keep mine in the fridge for a few weeks before planting. If you’ve forgotten, don’t stress. Even a few days helps.
Why it matters: Cold = better roots = bigger bulbs - Break the bulb into individual cloves: Choose the biggest, healthiest cloves. Small cloves grow small bulbs, and we’re not here for that. Tip: Don’t peel the papery skin — it protects the clove.
- Soak cloves in seaweed solution (24 hours): A quick soak in a diluted seaweed solution helps reduce transplant shock and provides the cloves with a nutrient boost. Why it works: Seaweed = root stimulant + stress reducer.
- Prep your soil with nutrients: Garlic is a heavy feeder. Before planting, I sprinkle Blood & Bone — for slow‑release nitrogen and overall plant strength and Potash — for healthy bulb development and stronger, bigger cloves. Mix it lightly into the top layer of soil. Beginner mistake: Planting garlic into plain sand or unamended soil — it needs food.
- Plant using the 4‑per‑grid method: This is my simplified grid method — perfect for small gardens.
4 holes per square, one clove per hole, plant pointy end up, cover with soil and water well - Water + wait: Garlic doesn’t need much fussing. Keep the soil moist (not soaked) and let it do its thing.
Notes
Every season teaches me something. This year, I’m spacing mine slightly wider because last year they didn't have the room to grow bigger. Perth’s autumn weather is also warming up, so I’m planting a week earlier than usual.